Learn how to read crochet charts easily, including suggested video and some charts for beginners.
Reading crochet charts can initially seem daunting, but with a bit of practice, they become a powerful tool for understanding and visualizing crochet patterns.
A crochet chart is a visual representation of a pattern, using symbols to depict stitches and their placement. Each symbol corresponds to a specific stitch, and the chart is usually read from the bottom up, row by row or round by round, depending on the pattern’s construction.
By familiarizing yourself with the common symbols and understanding the flow of the chart, you can easily translate these diagrams into beautiful crochet projects.
How to Read Crochet Charts?
1. Understand the Symbols:
- Chains (ch): Usually represented by an oval or a small circle.
- Slip Stitch (sl st): A small dot or a closed oval.
- Single Crochet (sc): A cross, plus sign (+), or an “x.”
- Half Double Crochet (hdc): A “T” with a small line across the stem.
- Double Crochet (dc): A “T” with a longer line across the stem.
- Treble Crochet (tr): A “T” with two lines across the stem.
- Double Treble Crochet (dtr): A “T” with three lines across the stem. Symbols might vary slightly depending on the chart, but these are the most common ones.
2. Identify the Starting Point:
- Most crochet charts are worked in the round, starting in the center, or in rows, starting at the bottom.
- The starting point is often marked with an arrow or a dot.
3. Follow the Direction:
- If the chart is in rows, you typically work back and forth. Row 1 will be from right to left, Row 2 from left to right, and so on.
- If the chart is in the round, you work in a continuous spiral or by joining the round at the end of each row.
4. Reading in Rows:
- The rows are often numbered, and you follow the numbers in order.
- The stitches are placed in relation to each other, so follow the chart exactly to maintain the correct pattern.
5. Reading in the Round:
- Start from the center and work outwards.
- The chart often spirals outwards, and each round is numbered.
6. Pay Attention to Repeats:
- Patterns may indicate repeats with brackets, asterisks, or a specific section marked off with a different color or line.
- Work the section as indicated, repeating it as many times as instructed.
7. Check for Special Instructions:
- Some charts might include additional symbols for special stitches or techniques. Check the key or legend that accompanies the chart.
8. Count Your Stitches:
- Constantly check that you have the correct number of stitches in each row or round to match the chart.
9. Look at the Legend:
- Always check the legend or key that comes with the chart. It will explain what each symbol means for that specific chart.
How to read crochet charts – tutorial!
To better understand how to read crochet charts in practice, I would like to recommend the video on the Youtube Channel naztazia.

Practice Example:
Try working on a simple chart with basic stitches first. It might be helpful to print it out and follow along with a pencil or highlighter to mark your progress.
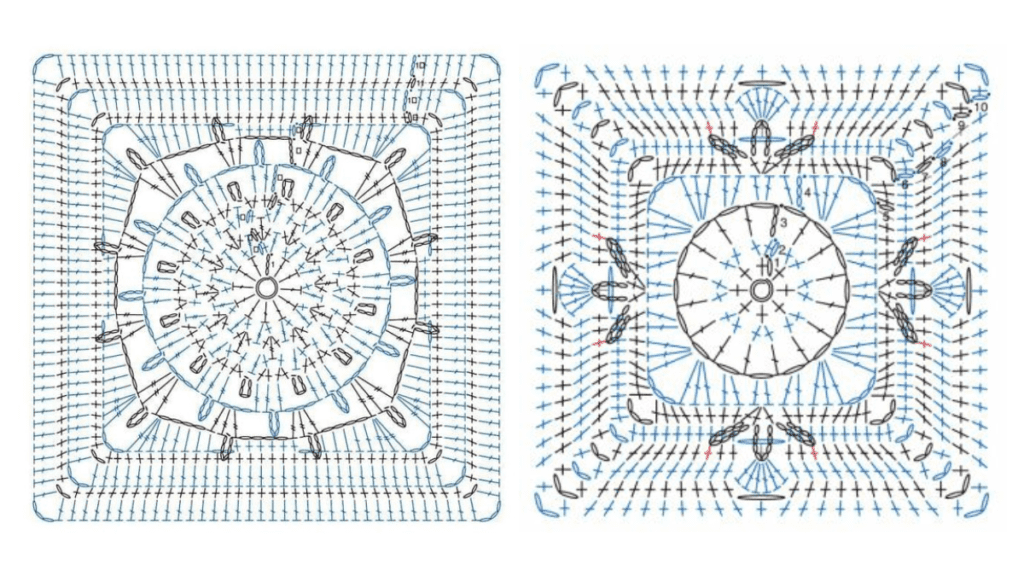
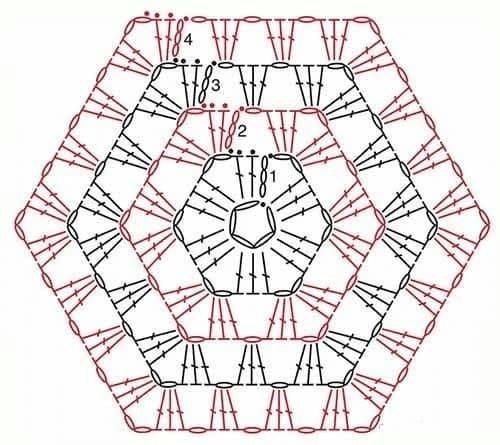
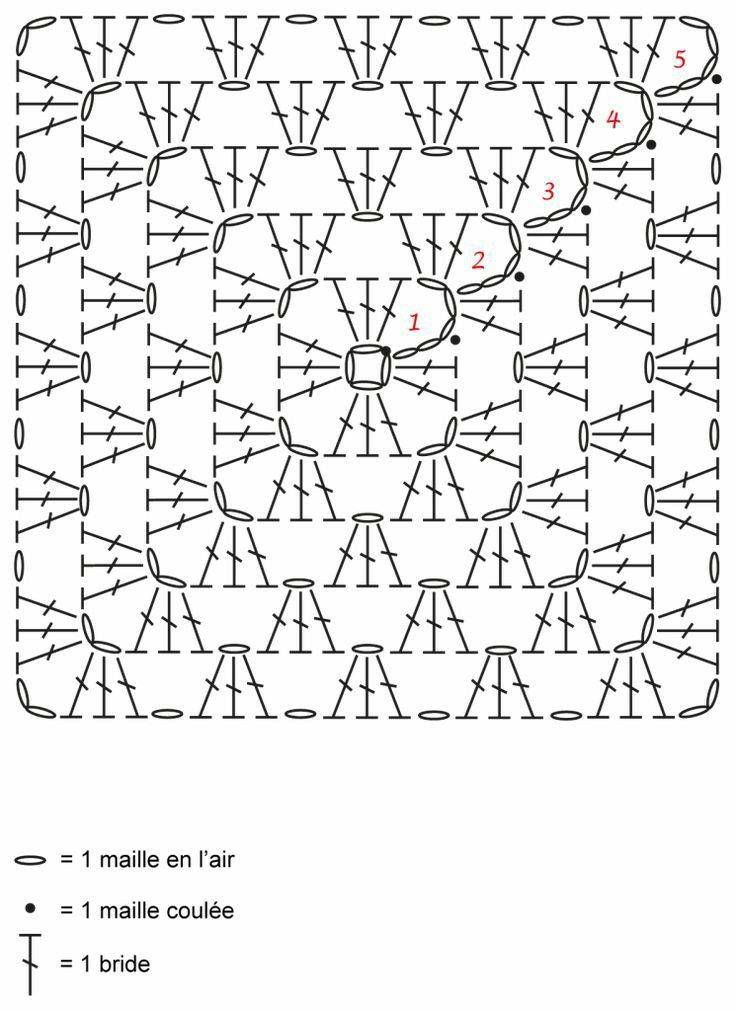
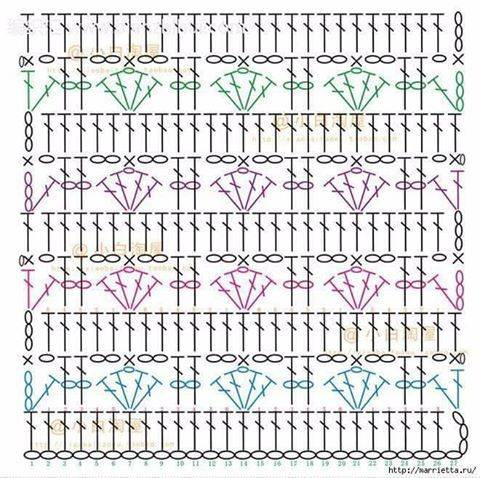
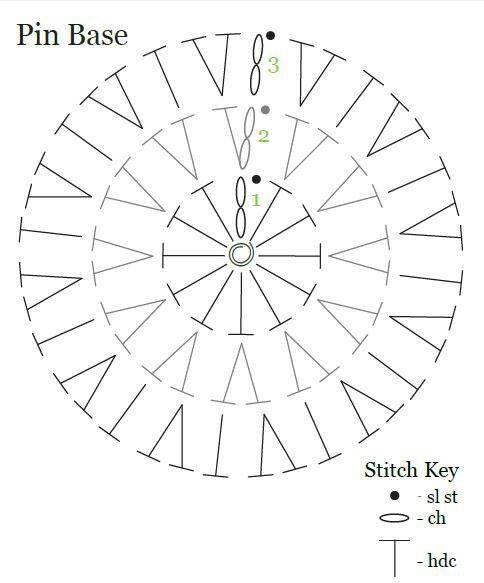
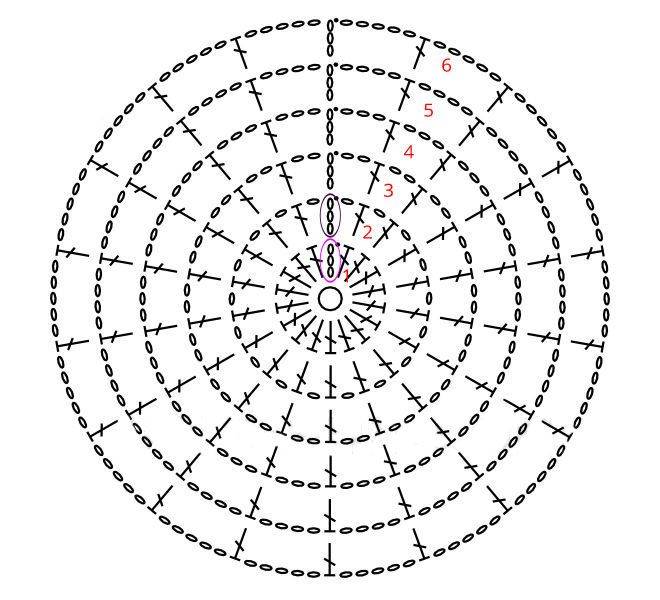
Here are some charts for you to practice at home. Take your time and redo them as many times as necessary. After all, learning how to read crochet charts requires dedication and patience.


In conclusion, mastering the skill of reading crochet charts opens up a world of creative possibilities for any crocheter.
By understanding the symbols, recognizing stitch patterns, and following the chart’s direction, you can tackle more complex designs with confidence.
Practice is key—start with simple charts and gradually work your way up to more intricate patterns. Over time, you’ll find that charts can make crocheting more intuitive and enjoyable, allowing you to focus on the artistry of your work rather than getting lost in written instructions.
With patience and persistence, learn how to read crochet charts will become a valuable and essential tool in your crochet repertoire.
Read More: 60 Free Crochet Square Charts!
