Learn how to Granny Square for Beginners in a very easy and practical way. With this tutorial, your work will be even more perfect.
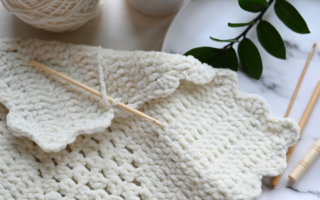
Granny squares are a classic and versatile crochet pattern, perfect for beginners looking to develop their skills while creating beautiful projects.
These small, square motifs can be used to make blankets, scarves, bags, and even clothing.
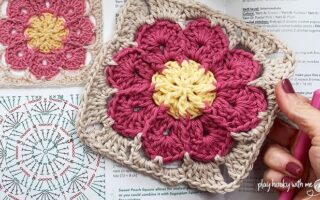
With just a few basic stitches, you can create intricate designs and experiment with different colors and textures.
In this guide, we’ll walk you through the essentials of making your first granny square, providing step-by-step instructions and tips to help you master this timeless crochet technique.
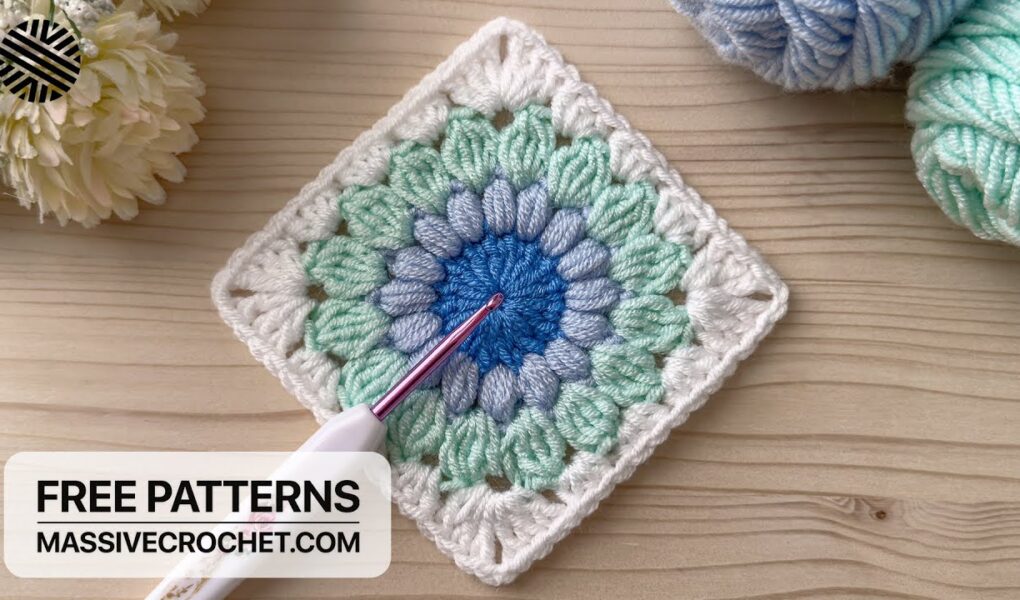
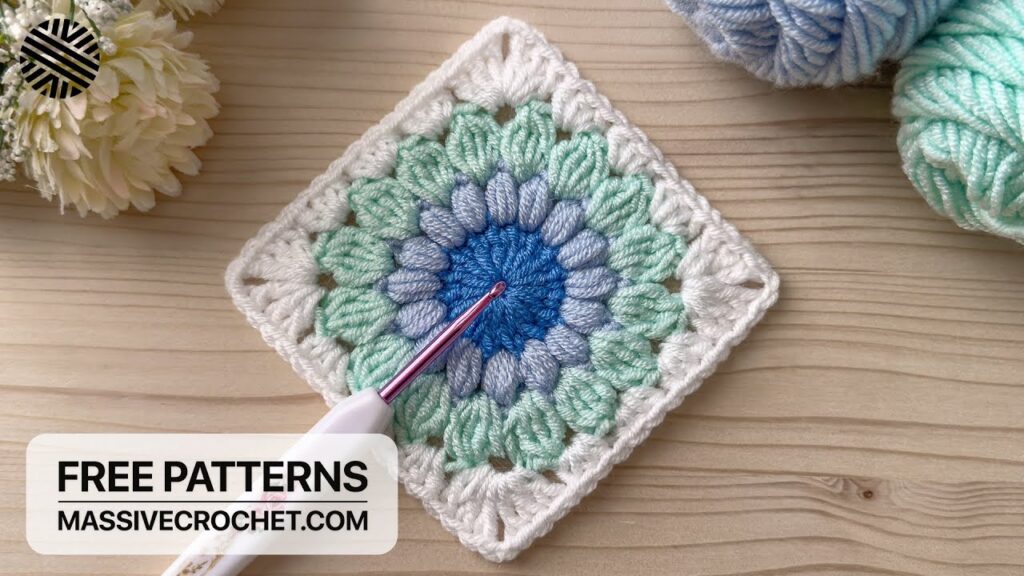
Granny Square for Beginners Step by Step
And to help you in this mission of learning Granny Square for Beginners, I want to share with you a beautiful tutorial that I found on the Youtube channel Massive Crochet
6 Tips for Making Better Granny Squares for Beginners
- Use the Right Yarn and Hook – Choose a medium-weight yarn (such as worsted) and a corresponding hook size (usually 4mm–5mm) to make it easier to see and control your stitches.
- Start with a Magic Ring – A magic ring creates a tight, adjustable center for your granny square, preventing a hole in the middle and giving it a neater finish.
- Maintain Consistent Tension – Try to keep an even tension throughout your work to ensure all stitches are uniform, preventing your square from becoming too loose or too tight.
- Count Your Stitches – Always count your stitches and chain spaces at the end of each round to avoid mistakes that can make your square uneven.
- Block Your Squares – Once finished, gently steam or wet block your granny squares to help them maintain a perfect shape and size, making them easier to join together.
- Weave in Ends Securely – Use a yarn needle to weave in loose ends properly to prevent them from unraveling over time, ensuring a long-lasting and polished finish.
Read More: How to read crochet charts very easy